Tutorial for Big Star Baby Quilt

Note: The striped fabric was added to the corner blocks because of a cutting mistake. These directions do not include it.
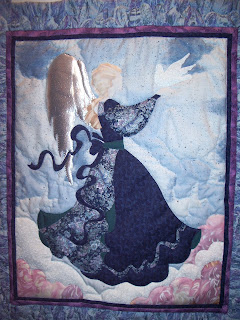
1. Prepare embroidery blocks.
Trim 4 of the to 8” square. These will be the center blocks.
Trim 4 of them to 8-1/2” square. These will be the corner blocks.
2. Cutting: Flip-and-Sew method: **see below for cutting regular flying geese
Background – cut 4 16-1/2” x 8-1/2” rectangles
Starpoints – Cut 8 8-1/2” squares.
Center trim (Stripes) cut 2 1” x 8”, 3 1” x 16”, and 2 16-1/2”
Borders are cut 6” wide on the lengthwise grain. Cut after finishing center of quilt, using Bonnie Hunter’s Quiltville tutorial.
3. Make a Sawtooth Star
Center: Sew a 1” x 8” striped strip between two embroidered Blocks (EMB). Repeat, making sure the EMB are in correct alignment. Sew the resulting 2 sets together with a 16” strip in the center, taking care to align center strips. Sew a 16” strip to the top, then bottom of the square. Finish with 16-1/2” x 1” strips to the sides. This should measure 16-1/2” x 16-1/2”. (See above photo)
Star points: Draw a diagonal line on the 8-1/2” colored star points. Using the flip and sew method, make flying geese blocks that end up 16-1/2” by 8-1/2”. See this tutorial if you need further directions.
(I never use flip and sew. I just cut the pieces of flying geese and sew them together. To cut these, cut a strip 8-1/2” wide of both background and starpoints. Using a EZangle cut 8 HSTs 8-1/2” for starpoints. Using a Companion angle cut background strip into 4 QSTs 16-1/2 x 8 1/2” . Then just sew them together, taking care to not stretch the bias.


Finish the star by sewing a nine-patch. Sew Flying geese units to top and bottom of center, checking alignment!! Sew two corners to remaining two flying geese. Sew to center unit. Check again that all your EMB blocks are right side up!!!
4. Add Borders
Measure center star - It should be 32 1/2” square. If not – cut your borders following Bonnie’s tutorial listed above. If your size is like mine, cut 2 6” strips 32-1/2” long – apply to each side. Measure again, cut 6” strip to match this measurement (44 1/2”). Apply to top and bottom. I use a lot of pins to keep these even.
5. Quilt and bind
It’s assumed you already know how to do this, if not, follow any basic quilting book or on-line tutorial for this.Your finished quilt should be 44” square. I gave mine to my massage therapist, who reported that her baby loved to poke at the figures while having tummy time on it on the floor.
Changing the Size:
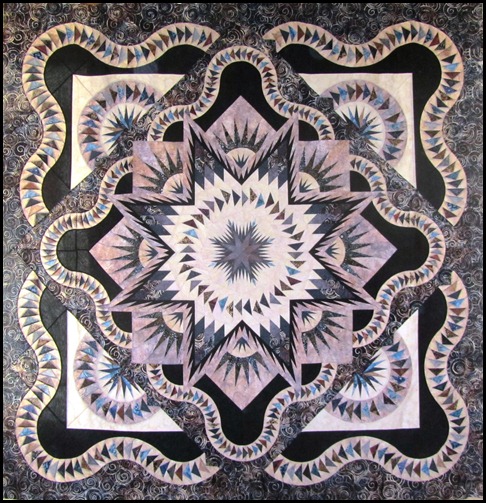
You can make any size big star you want, using a little math. For a big one, I start with a 16” center, add 8” finished star points to that. This is 32” square.I then make another star point round, adding 16” (finished) star points, usually using a fancier center for the flying geese, such as the block “best of all”. The center star is now 64”.
That size looks nice with a 6-8” plain border to cover the top of a king-size bed. From there, you just keep adding borders to reach the size you want. That is how I made these two quilts, both of them are
about 120” square.


I hope this helps you make bunches of Big Stars. To vary the center star, a good reference is by Evelyn Sloppy.
Don't forget to look at the Quilty Pleasures blog for another version of the Scrap Squad's Majestic Gardens.

Happy Quilting,
Becky

Comments